Raspberry Pi Imager is an application developed by the Raspberry Pi Foundation, designed to simplify the process of writing operating system images to SD cards or USB drives for Raspberry Pi.
Basically, it is the customized version of Etcher, adapted for Raspberry Pi, and maintained by its manufacturers. It is the official tool for writing images to Raspberry Pi.
The tool provides an intuitive graphical interface that allows users to efficiently select, download, and install operating system images.
Some of its main features include:
- Simple user interface: The graphical interface of Raspberry Pi Imager is easy to use, making it simple for users to select and write images to their SD cards.
- Support for multiple operating systems: Raspberry Pi Imager supports a wide range of operating systems, including popular ones like Raspberry Pi OS, Ubuntu, and more.
- Automatic download functionality: The tool can automatically download the latest images of compatible operating systems, saving time for users.
- Custom write option: In addition to predefined images, it allows users to write custom images they may have downloaded or created.
Installing Raspberry Pi Imager
Raspberry Pi Imager is available for multiple platforms, including Windows, macOS, and Linux. To install the application, we follow these steps:
- Download the installer from the official Raspberry Pi website: Raspberry Pi Imager for Windows.
- Run the downloaded
.exefile. - Follow the instructions in the installation wizard to complete the process.
- Download the
.zipfile from the official Raspberry Pi website: Raspberry Pi Imager for Linux. - Unzip the file and run the corresponding binary file from the terminal:
sudo dpkg -i raspberry-pi-imager_*.debCopied! - Install any necessary dependencies, if required, using:
sudo apt-get install -fCopied!
- Download the
.dmgfile from the official Raspberry Pi website: Raspberry Pi Imager for macOS. - Open the
.dmgfile and drag the Raspberry Pi Imager icon to the Applications folder. - Run Raspberry Pi Imager from the Applications folder.
- Install any necessary dependencies, if required, using:
sudo apt-get install -f
::::
Using Raspberry Pi Imager
Once installed, we can use Raspberry Pi Imager to write an operating system to our SD card by following these steps:
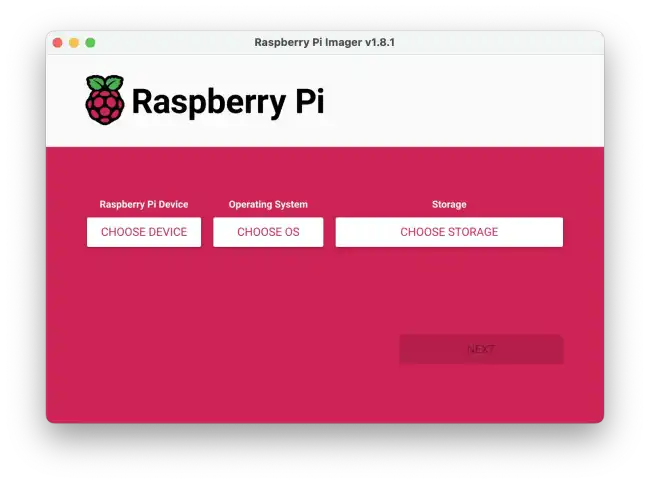
Selecting the Operating System: Open Raspberry Pi Imager and click on the �Choose OS� button. Here we will be presented with a list of recommended operating systems and other available options. We can select one of them or choose �Use custom� to load a custom image.
Selecting Storage: Click on �Choose SD Card� to select the SD card or USB drive where we want to write the image. Make sure you have selected the correct device, as all content on the selected drive will be erased.
Writing the Image: Once the operating system and storage have been selected, click on �Write� to begin the process. Raspberry Pi Imager will download the image if necessary and write it to the SD card. This process may take a few minutes, depending on the size of the image and the speed of the SD card.
Completion: When the writing process is finished, the application will notify us. We can safely remove the SD card and proceed to insert it into our Raspberry Pi.
