
Pi-hole is a network-level ad-blocking tool that allows you to filter ads and trackers across your entire local network.
Installed on a Raspberry Pi, Pi-hole acts as a Domain Name System (DNS) server for your network. When a device on your network tries to access a website, it queries the DNS server to translate the site’s name into an IP address.
Pi-hole filters these requests and blocks unwanted ones, which are those that match lists of domains known for serving ads or tracking users.
Benefits of using Pi-hole,
- Ad Blocking: Removes ads on all devices on your network without needing to install blockers on each one.
- Enhanced Privacy: Blocks trackers and scripts that collect information about your browsing.
- Bandwidth Reduction: By blocking ads and trackers, you reduce bandwidth consumption.
- User Interface: Provides a web interface to monitor and configure ad blocking.
For more information and additional support, visit the official Pi-hole page.
Installing Pi-hole on Raspberry Pi
First, we prepare the environment, ensuring our Raspberry Pi is up to date:
sudo apt update sudo apt upgrade
Then, we download and install Pi-hole using its automated installation script. Run the following command to download and start the installation script:
wget -O basic-install.sh https://install.pi-hole.net sudo bash basic-install.sh
This script will download and install Pi-hole, and guide you through a series of configuration steps.
Initial Configuration
During installation, you will be asked to configure various aspects of Pi-hole:
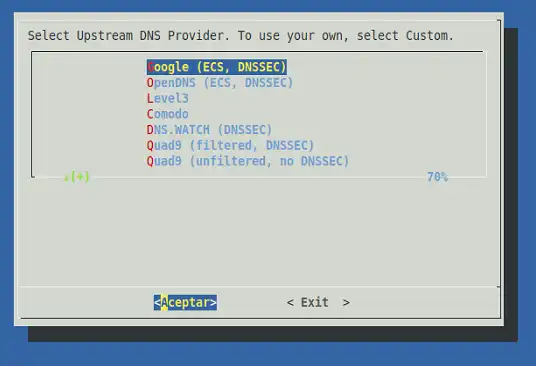
First, choose a DNS server to use with Pi-hole. You can select one of the recommended public DNS servers or use the DNS server provided by your Internet Service Provider (ISP).
Then, configure the blocklist. Pi-hole uses these lists to filter requests from unwanted domains. During installation, you will be offered a selection of default lists, but you can add more lists in the web interface after installation.
Accessing the Web Interface
Once Pi-hole is installed, we can access its web interface to manage configuration and monitor traffic.
Open your web browser and go to your Raspberry Pi’s IP address.
localhost/admin
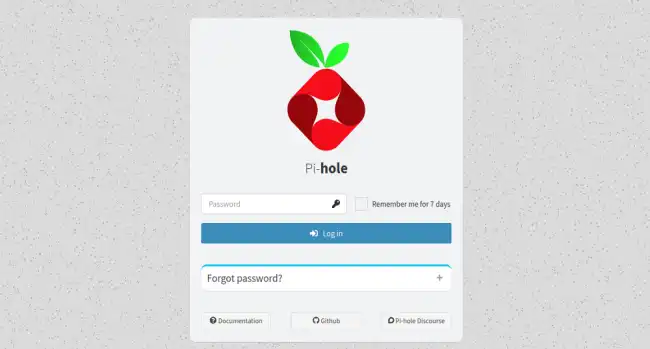
Log in with the admin password provided during installation. Here you can view statistics on blocked requests, manage blocklists, and configure other advanced options.
If you want to change the port on which the admin panel runs, you can do so by editing the configuration file at,
sudo nano /etc/lighttpd/lighttpd.config
Pi-hole Configuration
Once logged in, you’ll see the main Dashboard, a graphical user interface that provides a detailed overview of the system’s operation and performance.
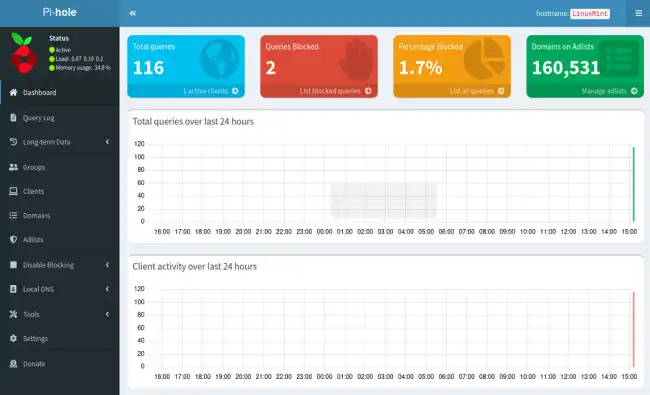
In the Pi-hole web interface, you can adjust advanced settings such as:
- Blocklists: Add or remove domain lists to block.
- Query Logs: View details about DNS requests that have been made.
- Privacy Settings: Adjust the amount of data stored about DNS queries.
Configuring Devices to Use Pi-hole
For Pi-hole to filter network traffic, we need to configure all your devices to use the Raspberry Pi as their DNS server. You can do this in two ways:
DNS Configuration on the Router
The normal option is to configure your router to use the Raspberry Pi’s IP as its primary DNS server. This will make all devices connected to your network use Pi-hole automatically.
DNS Configuration on Individual Devices
The other option is to manually configure each device on your network to use the Raspberry Pi’s IP as its DNS server. This is useful if you cannot change the router’s configuration or if you want to test Pi-hole on specific devices.
Update and Maintenance
Keep Pi-hole updated to benefit from the latest features and security fixes. You can update Pi-hole from the web interface or by running:
pihole -up
