Electron is a framework that allows you to develop desktop applications using web technologies like HTML, CSS, and JavaScript.
It was created by GitHub in 2013 to build their code editor Atom and has since gained popularity in the development community for its ease of use.
Electron.js uses Chromium, the same web rendering engine from Google, and Node.js, an event-driven JavaScript runtime, to provide a platform for developing desktop applications.
With Electron.js, we can create desktop applications that run on Windows, macOS, and Linux using familiar web technologies.
Advantages of Electron,
- Cross-platform: Electron allows you to develop applications that run on Windows, macOS, and Linux without needing to modify the code
- Use of web technologies: Developers can use familiar web technologies like HTML, CSS, and JavaScript
- Access to native APIs: Through Node.js, Electron provides access to operating system APIs, allowing the creation of applications with native capabilities
- Large community and support: Electron has a large community of developers and an ecosystem of tools and libraries that facilitate development
- Automatic updates: Electron includes support for automatic updates, making it easy to keep applications up to date
As a downside, mainly performance and resource usage. Ultimately, Electron “spins up” a browser for each instance of the program, which implies considerable resource consumption.
Electron is Open Source, and all of its code and documentation are available on the official page Electron.org and the project repository on GitHub - electron/electron
Installation
To start using Electron, you need Nodejs and NPM (Node Package Manager). If you don’t know what they are or want to learn more, I leave you these two courses 👇.
Once we have it installed, open a terminal and navigate to the directory where you want to create your project. Run the following command to initialize an npm project:
npm initOnce the npm project is initialized, install Electron as a development dependency:
npm install electron --save-devProject Structure
The basic structure for an Electron project is as follows:
my-electron-app/
├── package.json
├── main.js
├── index.html
└── preload.js- package.json: npm configuration file
- main.js: The main script that controls the application’s lifecycle
- index.html: The user interface of the application
- preload.js: A script that runs before the web page is loaded in the renderer
Configuring Electron
Let’s see how to configure the necessary files to run our first Electron application, and the role of each of them.
The main.js file is the entry point of your Electron application. Here, the main window is created, and the application’s lifecycle is managed:
const { app, BrowserWindow } = require('electron');
const path = require('path');

function createWindow () {
  const mainWindow = new BrowserWindow({
    width: 800,
    height: 600,
    webPreferences: {
      preload: path.join(__dirname, 'preload.js')
    }
  });

  mainWindow.loadFile('index.html');
}

app.whenReady().then(() => {
  createWindow();

  app.on('activate', function () {
    if (BrowserWindow.getAllWindows().length === 0) createWindow();
  });
});

app.on('window-all-closed', function () {
  if (process.platform !== 'darwin') app.quit();
});The index.html file defines the user interface of your application:
<!DOCTYPE html>
<html>
<head>
  <meta charset="UTF-8">
  <title>My Electron App</title>
</head>
<body>
  <h1>Hello, Electron!</h1>
  <p>Welcome to your first Electron application.</p>
</body>
</html>The preload.js file runs before the web page is loaded and can expose secure APIs to the renderer:
window.addEventListener('DOMContentLoaded', () => {
  const replaceText = (selector, text) => {
    const element = document.getElementById(selector);
    if (element) element.innerText = text;
  }

  for (const type of ['chrome', 'node', 'electron']) {
    replaceText(`${type}-version`, process.versions[type]);
  }
});
Running the Application
To launch our application in Electron, we will add an action (script) in the configuration file package.json
"scripts": {
  "start": "electron ."
}
Now, to run the Electron application, we simply have to do,
npm run start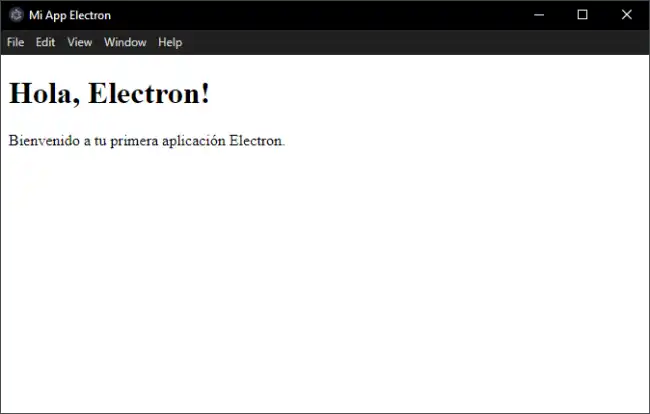
Distributing the Application
Once we have our app ready, we will need to package it and distribute it. For that, we can use Electron Forge. We install it with the following command
npm install --save-dev @electron-forge/cliOnce done, we run Electron Forge with the following command:
npx electron-forge importIt is necessary that the package.json file contains Author and Description
Download the Code
All the code for this entry is available for download on GitHub. 