WordPress is one of the most popular content management systems (CMS), known for its flexibility and ease of use.
Installing WordPress on a Raspberry Pi is a great way to learn about server and website management while using a compact and affordable device.
In this article, we will guide you through the steps to install WordPress on your Raspberry Pi as part of a Raspberry Pi course.
Prerequisites
Before you begin, make sure you have:
- Raspberry Pi with Raspberry Pi OS installed and updated.
- Internet connection.
- Access to the terminal of your Raspberry Pi (either locally or via SSH).
Prepare the Environment
Update the system
It is crucial to have the system updated. Open a terminal and run:
sudo apt update
sudo apt upgrade
Install Apache, MySQL, and PHP
WordPress needs a web server (Apache), a database (MySQL), and PHP to function. Let’s install these components.
Install Apache
Apache is a web server that will host your WordPress site:
sudo apt install apache2Verify that Apache is running by opening your browser and accessing the IP address of your Raspberry Pi. You should see an Apache welcome page.
We see it in this post read more
Install MySQL
MySQL is the database management system. Install it with:
sudo apt install mysql-serverAfter installation, we need to set a password for the MySQL root user.
sudo mysql_secure_installationMake sure to remember this password, as you will need it later.
We see it in this post read more
Install PHP
PHP is the programming language used by WordPress. Install it along with some necessary modules:
sudo apt install php libapache2-mod-php php-mysqlRestart Apache for the changes to take effect:
sudo systemctl restart apache2We see it in this post read more
Configure MySQL for WordPress
Access MySQL
Access the MySQL command line:
sudo mysql -u root -pEnter the password you set during the MySQL installation.
Create a database and user
Within the MySQL client, run the following commands to create a database and a user for WordPress:
CREATE DATABASE wordpress;
CREATE USER 'wordpressuser'@'localhost' IDENTIFIED BY 'yourpassword';
GRANT ALL PRIVILEGES ON wordpress.* TO 'wordpressuser'@'localhost';
FLUSH PRIVILEGES;
EXIT;
Replace yourpassword with a secure password for the wordpressuser.
Download and Install WordPress
Download WordPress
First, navigate to the Apache web directory:
cd /var/www/htmlDownload the latest version of WordPress:
sudo wget https://wordpress.org/latest.tar.gzExtract the downloaded file:
sudo tar xzvf latest.tar.gzThis will create a directory called wordpress. Move the contents of this directory to the root directory of Apache:
sudo mv wordpress/* .Configure WordPress
Rename the configuration file:
sudo cp wp-config-sample.php wp-config.phpEdit the configuration file to add your database information:
sudo nano wp-config.phpLook for the following lines and update them with your database information:
define('DB_NAME', 'wordpress');
define('DB_USER', 'wordpressuser');
define('DB_PASSWORD', 'yourpassword');
define('DB_HOST', 'localhost');
Save the file (CTRL + X, then Y and Enter).
Adjust Permissions
Make sure Apache has access to the WordPress files:
sudo chown -R www-data:www-data /var/www/html
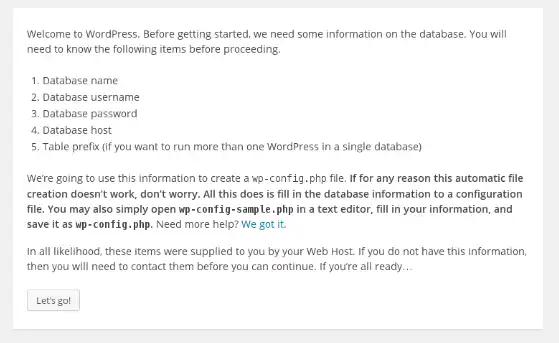
sudo chmod -R 755 /var/www/htmlComplete the installation through the browser
Now, open your web browser and access the IP address of your Raspberry Pi. You should see the WordPress installation page. Follow the instructions to set up your site, including:
- Choosing the language.
- Configuring the site name, admin user, password, and email.
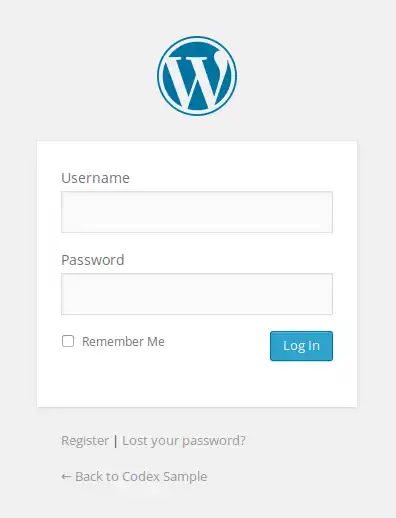
Access the admin panel
Once you complete the installation, you will be able to access the WordPress admin panel at:
http://[your-ip-address]/wp-adminLog in with the username and password you created during the setup.