Kodi is an open-source, cross-platform media center that allows the management and playback of audio, video, and images on a wide variety of devices.
Kodi offers a complete home entertainment experience, allowing the management and playback of multimedia content in an intuitive and flexible way.
Formerly known as XBMC (Xbox Media Center), Kodi has become the most common solution for creating your own home media player.
With Kodi, we can play content either on the Raspberry Pi itself, with a plugged-in hard drive, or (the star option ⭐) directly from another device over the network (SMB, DLNA, Airplay, etc).
Some of the most important features of Kodi,
- Cross-platform compatibility: Works on a variety of operating systems, including Linux, Windows, macOS, iOS, and Android.
- Support for multiple formats: Plays a wide range of video, audio, and image formats.
- Plugins and Add-ons: Allows adding additional functionality through add-ons, such as streaming services, music services, and more.
- Customizable interface: Offers a user interface that can be customized with themes and skins.
- Media library: Automatically organizes and categorizes your media files.
For more information on advanced configuration and Kodi add-ons, consult the official Kodi documentation.
Installing Kodi on Raspberry Pi
To install Kodi, first ensure your Raspberry Pi is updated before starting. Update all packages on your Raspberry Pi with the following commands,
sudo apt update sudo apt upgrade
Then, install Kodi, which is available in the official Raspberry Pi OS repositories, using the following command:
sudo apt install kodi
This command will download and install Kodi along with its dependencies. After installation, you can start Kodi from the applications menu or by running the following command in the terminal:
kodi
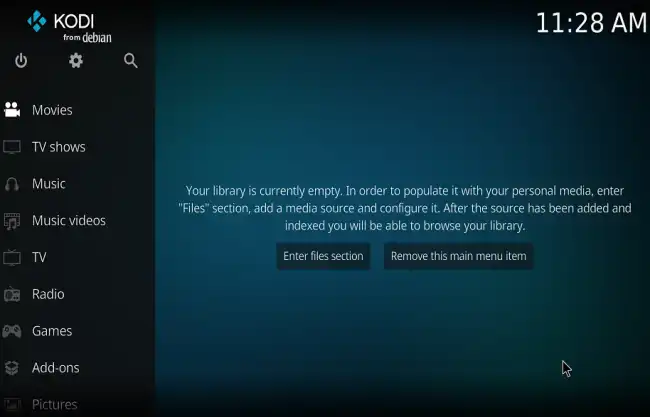
When you run Kodi for the first time, you will encounter an initial interface that will allow you to configure various aspects of the program.
Basic Kodi Configuration
Once Kodi is up and running, here are some steps to set up and customize your media center:
Web Interface
Kodi has a web interface that allows you to control Kodi from any device connected to the same local network. For example, you can use your phone or tablet to control Kodi from the couch. It’s uglier than sin, but it works.
To access Kodi’s web interface, go to “Options / Settings / Services” and there choose Control, and enable HTTP control:
Now open a web browser on any device connected to the same local network as your Raspberry Pi. Type the IP address of your Raspberry Pi followed by “:8080” in the browser’s address bar.
For example, if your Raspberry Pi’s IP address is “192.168.0.10”, you would type “192.168.0.10:8080” in the address bar.
