We are going to write and run a simple program in C#. This program will print ¡Hola, Mundo! to the console. Our first C# program!
It’s a very basic example, but it helps us verify that everything is installed correctly, and… you have to start somewhere 😊.
Creating the Program in Visual Studio
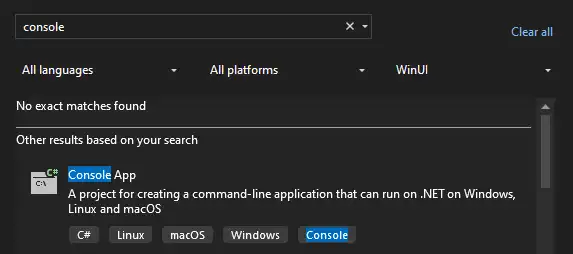
We can use Visual Studio to create our first application. In this simple case, we’ll use a console application. To do this,
- Open Visual Studio and select Create a new project.
- Select Console Application
- Assign a name to your project (for example
HelloWorld) and select the folder where it will be saved. Click Create.
This process will create a basic C# program template in your new project.
Writing Our First Program
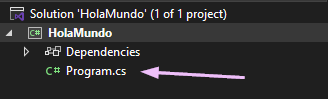
With our project created, we open the Program.cs file by selecting it in the Solution Explorer.
In this file, we write the following code,
using System;

namespace HelloWorld
{
	class Program
	{
		static void Main(string[] args)
		{
			Console.WriteLine("Hello, World!");
		}
	}
}
Let’s Look at It Part by Part
using: The line
using System;indicates that the program will use theSystemnamespace, which contains fundamental .NET Framework classes likeConsole.Namespace:
namespace HelloWorlddefines a namespace that organizes code and prevents name conflicts between different parts of the program.Class:
class Programdeclares a class namedProgram. In C#, all code must be contained within a class.Main Method:
static void Main(string[] args)is the program’s entry point. Every C# program must have aMainmethod, which is where execution begins.Statement:
Console.WriteLine("Hello, World!");is a statement that prints text to the console. Statements in C# end with a semicolon (;).
Don’t worry about every detail for now. We will see them little by little in the rest of the course.
Running the Project
To run the project in Visual Studio, select the Start button or press Ctrl + F5. This will compile and run the program, showing the phrase in the console:
Hello, World!
If everything is installed correctly, you should see “¡Hola, Mundo!” in the console. Congratulations! 👏🥳.
Creating the Program from .NET CLI
We can also create and run the project using .NET CLI. To do this, open a terminal, navigate to your project folder, and type:
dotnet new console -o HolaMundo
To run the project, we can use,
dotnet run
Finally, to compile the project we can do,
dotnet build
These commands are useful for creating projects, compiling code, and running it directly from the terminal, without needing to open the IDE.
The .NET Command-Line Interface (CLI) is a useful tool for creating and managing C# projects.
Although Visual Studio and Visual Studio Code automatically handle many aspects of project management, the CLI is very useful in some advanced contexts.